 CATEGORIES
Blogs
Building a DIY wooden chest: practical tutorial [VIDEO]

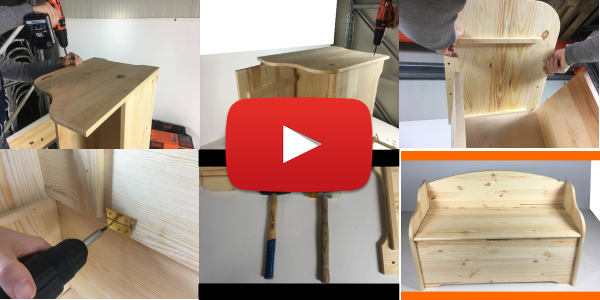
In this practical tutorial we learn how to assemble a raw wooden chest. Using the Tyrolean style chest, we will illustrate how to make a DIY raw wooden chest.
Why build one DIY wooden chest?
Why choose a raw wood chest to build rather than an already finished product? The chest is a furnishing accessory that enlivens any environment, whatever the furnishing style.
The advantage of buying one chest in raw wood in fact, it consists in allowing you to personalize the final effect, allowing you to furnish with an original and one-of-a-kind final object.
The tools used
In this tutorial we used:
- Hammer with plastic and rubber head
- Hammer with metal head

Hammer head in rubber and head in plastic
Watch the video with the steps to build the wooden chest
The pieces of the chest
First unpack the chest making sure you have all the parts and hardware.

All the pieces of the wooden chest to build
Assembly of the chest
Rear panel and side wall.
To build our chest it is appropriate start from the bottom wooden panel, which we are going to join with a side wall.

The chest is already equipped with holes for the birone joints and screws
Each part of the chest is joined to the rest by means of wooden biron, which act as mounting pins, allowing for a pre-assembly which is made fixed by the use of screws.
We join the rear panel with the side wall, with pins and screws. (We recommend not overtightening the screws in order to have a minimum amount of play during assembly).

Insertion of the interlocking pins
The birons must be forced into their housing using the hammer with metal head (it is important that the bironi are well fixed in order to avoid creaking after the chest).
Front panel and side wall.
We then proceed with joining the front panel of the chest to the side wall. For easy assembly, we recommend placing the horizontal side wall on the assembly surface, with the birons already inserted and lowering the surface from above.
The bottom of the chest.
The bottom of the chest is made up of a wooden panel of approximately 5mm which can be inserted into the appropriate slot. This panel can be simply inserted and held in place with only the joints; However, the package includes screws for a more definitive fixing.

Front panel and bottom of the chest
Lid and seat.
The wooden lid which also forms the seat of the chest is fixed using 2 metal zippers. The 2 hinges fixed 20cm from the external edge can be mounted hidden (as we will show you in this guide), or visible.
Then take the measurements starting from the external edge; first fix the hinges to the lid using the shorter, gold-plated screws, then, keeping the cover aligned with the panel bottom, fix to the curved wooden panel.

Take measurements and attach hinges to the wooden lid
Curved panel.
We then fix the panel with the cover to the side wall always using pins and screws.
Side wall and final fixing.
To build the wooden chest and execute the final fixing, we proceed to fix the second side wall which will definitively fix all the parts of the chest together.

Final fixing of the wooden side wall
Final results
The final result obtained is that we built a chest out of raw pine wood in Tyrolean style. Now the chest is ready to be appropriately decorated, based on the use you want to make of it and the environment where it will be positioned.

Building a chest out of raw wood: final result of the practical tutorial
Did you like this tutorial? What would you improve? Would you like to see more tutorials like this? Share your opinion and advise us using the comments below!